Retail displays can mean the difference between your store driving impulse buys and full shelves with unpurchased items. With effective implementation, your retail displays will be worth the investment you’ve put into them as they drive traffic and purchases to your sales floor.
However, there’s more to the successful implementation of displays than installing them across your retail space. A retail display succeeds only when it’s part of a visual merchandising strategy. As we all know, many moving parts comprise the strategy.
If you want to implement retail product displays that wow your customers and outperform those of your competitors, read on. We’re sharing our top visual merchandising tips that will make your displays and sales “pop.”
How Are Retail Displays Implemented?
Believe it or not, the implementation of your product displays is a step-by-step process. While we can break the process down into a dozen steps, we’ll summarize things and give you our three-step approach to implementing retail product displays that follow your visual merchandising strategy.
Speaking of strategizing, that brings us to step number one:
1. Create Your Visual Merchandising Strategy
During the planning stage, you must take stock of your merchandising strategy. Fail to do this, and your product displays will come off either mediocre or say little to nothing about your retail business.
If you haven’t developed your strategy yet, don’t worry. All you need to do is ask the following questions:
- What are you displaying?
- Who are you trying to attract or sell to?
- What do you want out of the display?
By answering the first question, you’ll narrow your list of choices down when it comes to displaying types. For example, if you’re selling perfume, display tables will work better. Are you selling smaller items? Maybe a POS display at the checkout counter will entice shoppers.
Answering the second question will guide your design. No single design will be visually appealing to all shoppers. By knowing your target audience, you’ll get an idea of how to design and position your retail displays.
As for the final question, your answer tells you where to position your retail displays.
Are you looking to attract customers to your brick-and-mortar retail store? If so, nothing beats window displays.
Did you find that you want your displays to give your customers a tactile shopping experience too? If you’re selling apparel, you can’t go wrong with garment racks near your visual merchandiser.
Do you want your displays to showcase products and sell them too? Position your in-store displays near your counter.
In short, planning is an essential step in your display implementation. Sadly, it’s one most retail business owners and visual merchandisers overlook.
2. Create Displays
Once you’ve developed the strategy behind your displays, you can now create them. As you’re creating displays, it’s essential to keep a few things in mind.
First, you must use materials that hold up well throughout the time your displays are in-store. For many, it’s tempting to use materials like steel frames right away. However, doing this may not always be appropriate, especially if all you planned to have was a POS display or a POP product display.
With that in mind, choose materials that are both durable and lightweight for when you have to display products for other seasons.
Second, you must design your displays to match your products in-store. Why? Doing this will achieve two things. It will make your products and offerings pop. At the same time, product-specific displays may be just the thing that adds to your brand’s image.
If you need examples, look at other stores that display big-name products. All of them have product-specific displays that draw attention and guide customers.
3. Implementing Retail Displays
Implementing your displays involves deploying them strategically in-store. By placing your displays in accordance with your merchandising strategy, not only will your displays be eye-catching in their appearance and arrangement. You’ll create a focal point that guides customers toward your bigger-ticket products.
Most importantly, strategic display implementation has ergonomic benefits. In particular, your placement of displays will create more space. The added open space will improve traffic, which is a critical part of promoting a positive buyer experience.
Visual Merchandising Tips for Each Display Type
Your visual merchandising techniques must match the displays you’re implementing in your physical store. This is because not all types of displays will have the same effect, depending on your target audience, products, and storage space.
By tailoring your implementation based on your displays, you’ll create a lasting impression as you maximize the effects of each.
Here, we’ll share the best practices for each type of in-store product display.
Window Display
Window displays are excellent if you want to attract customers from outside your store. For this reason, you must position your window displays where passersby can easily spot them.
Besides making your displays visible, you will want to make your displays eye-catching. You can do this by adding display stands to products. If you’re selling apparel, go with mannequins.
Window displays don’t only increase your product’s visibility. They can also help you build brand recognition, especially if other stores in your area aren’t using these product displays.
Store Shelving Displays/Traditional Store Shelves
Traditional shelving displays are a mainstay in many stores and for good reason. They can give your customers a visual and tactile experience of your products. Also, these product displays allow your customers to get products from them, making them effective for small businesses like mom-and-pop stores.
Visibility will hardly be an issue if your store has shelves. To maximize their effects, you’ll have to place them in areas with high traffic. These areas will often be large store aisles.
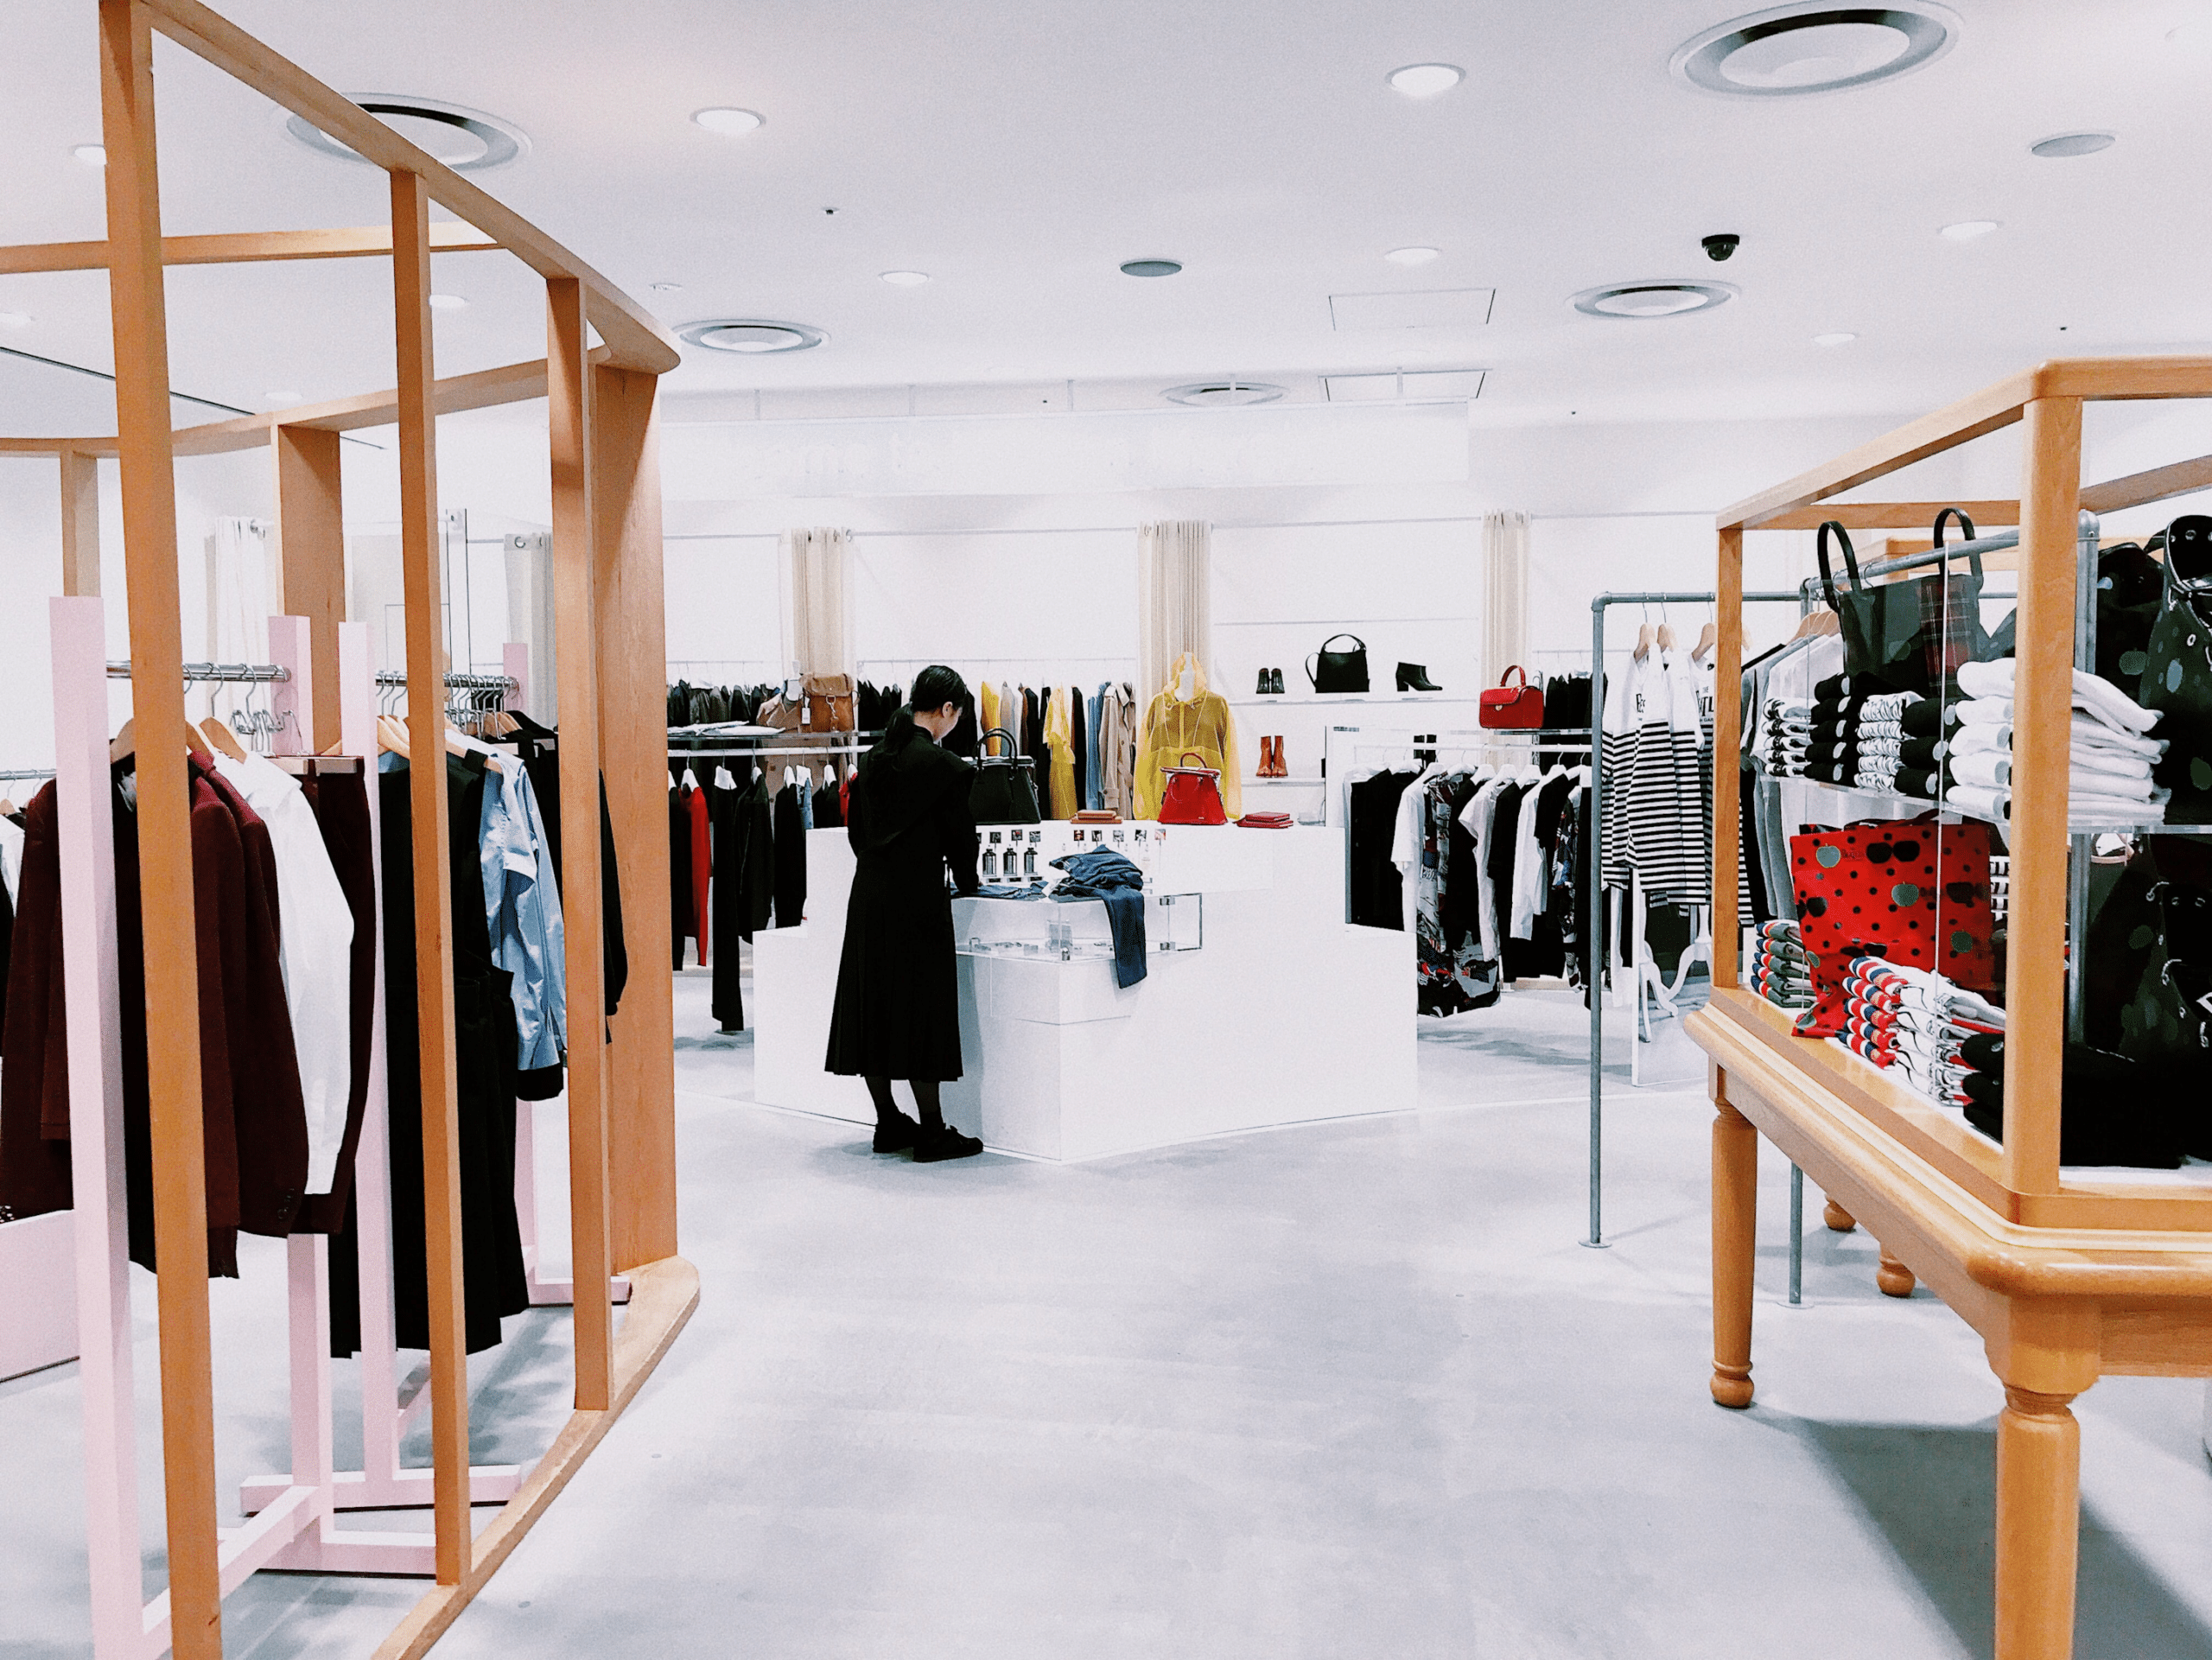
Clothing Display
Visual merchandising for apparel is all about providing your customers with a visual and tactile shopping experience. Your customers should be able to touch and see your products. They should also be able to distinguish between the ones on sale and your premium offerings.
For these reasons, your clothing displays can be garment racks and mannequin displays.
Those on the racks are the ones that are available for trying and purchase. The mannequins will create a focal point for your big-ticket apparel offerings. They’re also amazing for cross merchandising since they can give your customers ideas about combinations.
You’ll also want to ensure you’re grouping items together to facilitate the buying experience. Pants go with other pants, and tops go with other tops. You can also group based on brand. The choice is yours.
Last but surely not least, ensure that your clothing displays have a unifying theme. Human beings desire organization. Displaying your apparel in a way that makes sense gives your customers an organized and clutter-free shopping experience.
Display Tables
What if you’re displaying more expensive and fragile items like electronics? For such products, display tables are your best bet. These displays must allow your customers to interface with products in-store.
Table displays may have glass enclosures or remain open depending on the goods you’re selling. As a retailer, you must decide which is best. If you need recommendations to make better merchandising decisions, we’re here to help.
Standalone Displays and Freestanding Displays
Freestanding displays are straightforward. The deciding factor for successful standalone display implementation is the material.
As mentioned earlier, your material selection must be based on how long you want your displays to remain in-store. The longer you want them in place, the sturdier your materials need to be.
POP Display
POP and POS displays are some of the best product displays for impulse buys. They encourage people to grab something off your shelves or dump bins and pay for them at the register.
The key to successful POP display implementation is placed in areas that make sense. In particular, you’ll want to situate your dump bins and end caps in places with high customer traffic.
Why is the Job Role Important?
Display implementation is a crucial role for any retailer or visual merchandiser for two reasons.
Safety
A display should be more than attractive. It must also be sturdy enough to remain in place to protect shoppers. For this reason, visual merchandising specialists work tirelessly to design product displays that are both aesthetic and structurally sound — all in the name of customer safety.
To Optimize Customer Traffic and Sales
A display must catch a shopper’s attention to increase sales. Creating a display that engages the five senses requires attention to detail and color schemes. It will also require some knowledge of buyer psychology.
For this reason, visual display implementation isn’t a task for the average retailer. It’s a designation that requires a unique skill stack — one your business cannot do without.
Contact FELBRO Studios
Display implementation can be tricky at first. However, by putting our visual merchandising tips into practice, not only will your display implementations be simpler but your displays will also showcase your products in a way other retail stores can’t.
Of course, if you need a little help, we’re here for you.
For product displays that drive your sales up and build your brand, contact us. Reach us at (800) 7- FELBRO or email us at info@felbordisplays.com.